Binding Swift Libraries in Xamarin.iOS
February 11, 2020
xamarin
There are plenty of guides and blog posts online describing the process of making Xamarin binding for a Swift library, but I’ve been always struggling dealing with endless amount of new and new errors. The steps below is a real-world example of binding Starscream library (websockets in Swift for iOS and OSX).
Binding Swift libraries is pretty much the same as binding Objective-C code as described in the “Binding Objective-C libraries” guide, with a few limitations:
- Swift classes must inherit from
NSObject, i.e. they must be accessible from Objective-C. Swift code which is not accessible from Objective-C is also not accessible from Xamarin. - When supporting iOS 12.1 and older, Swift dylibs must be included in the app package.
- Ideally, Swift classes should be marked with
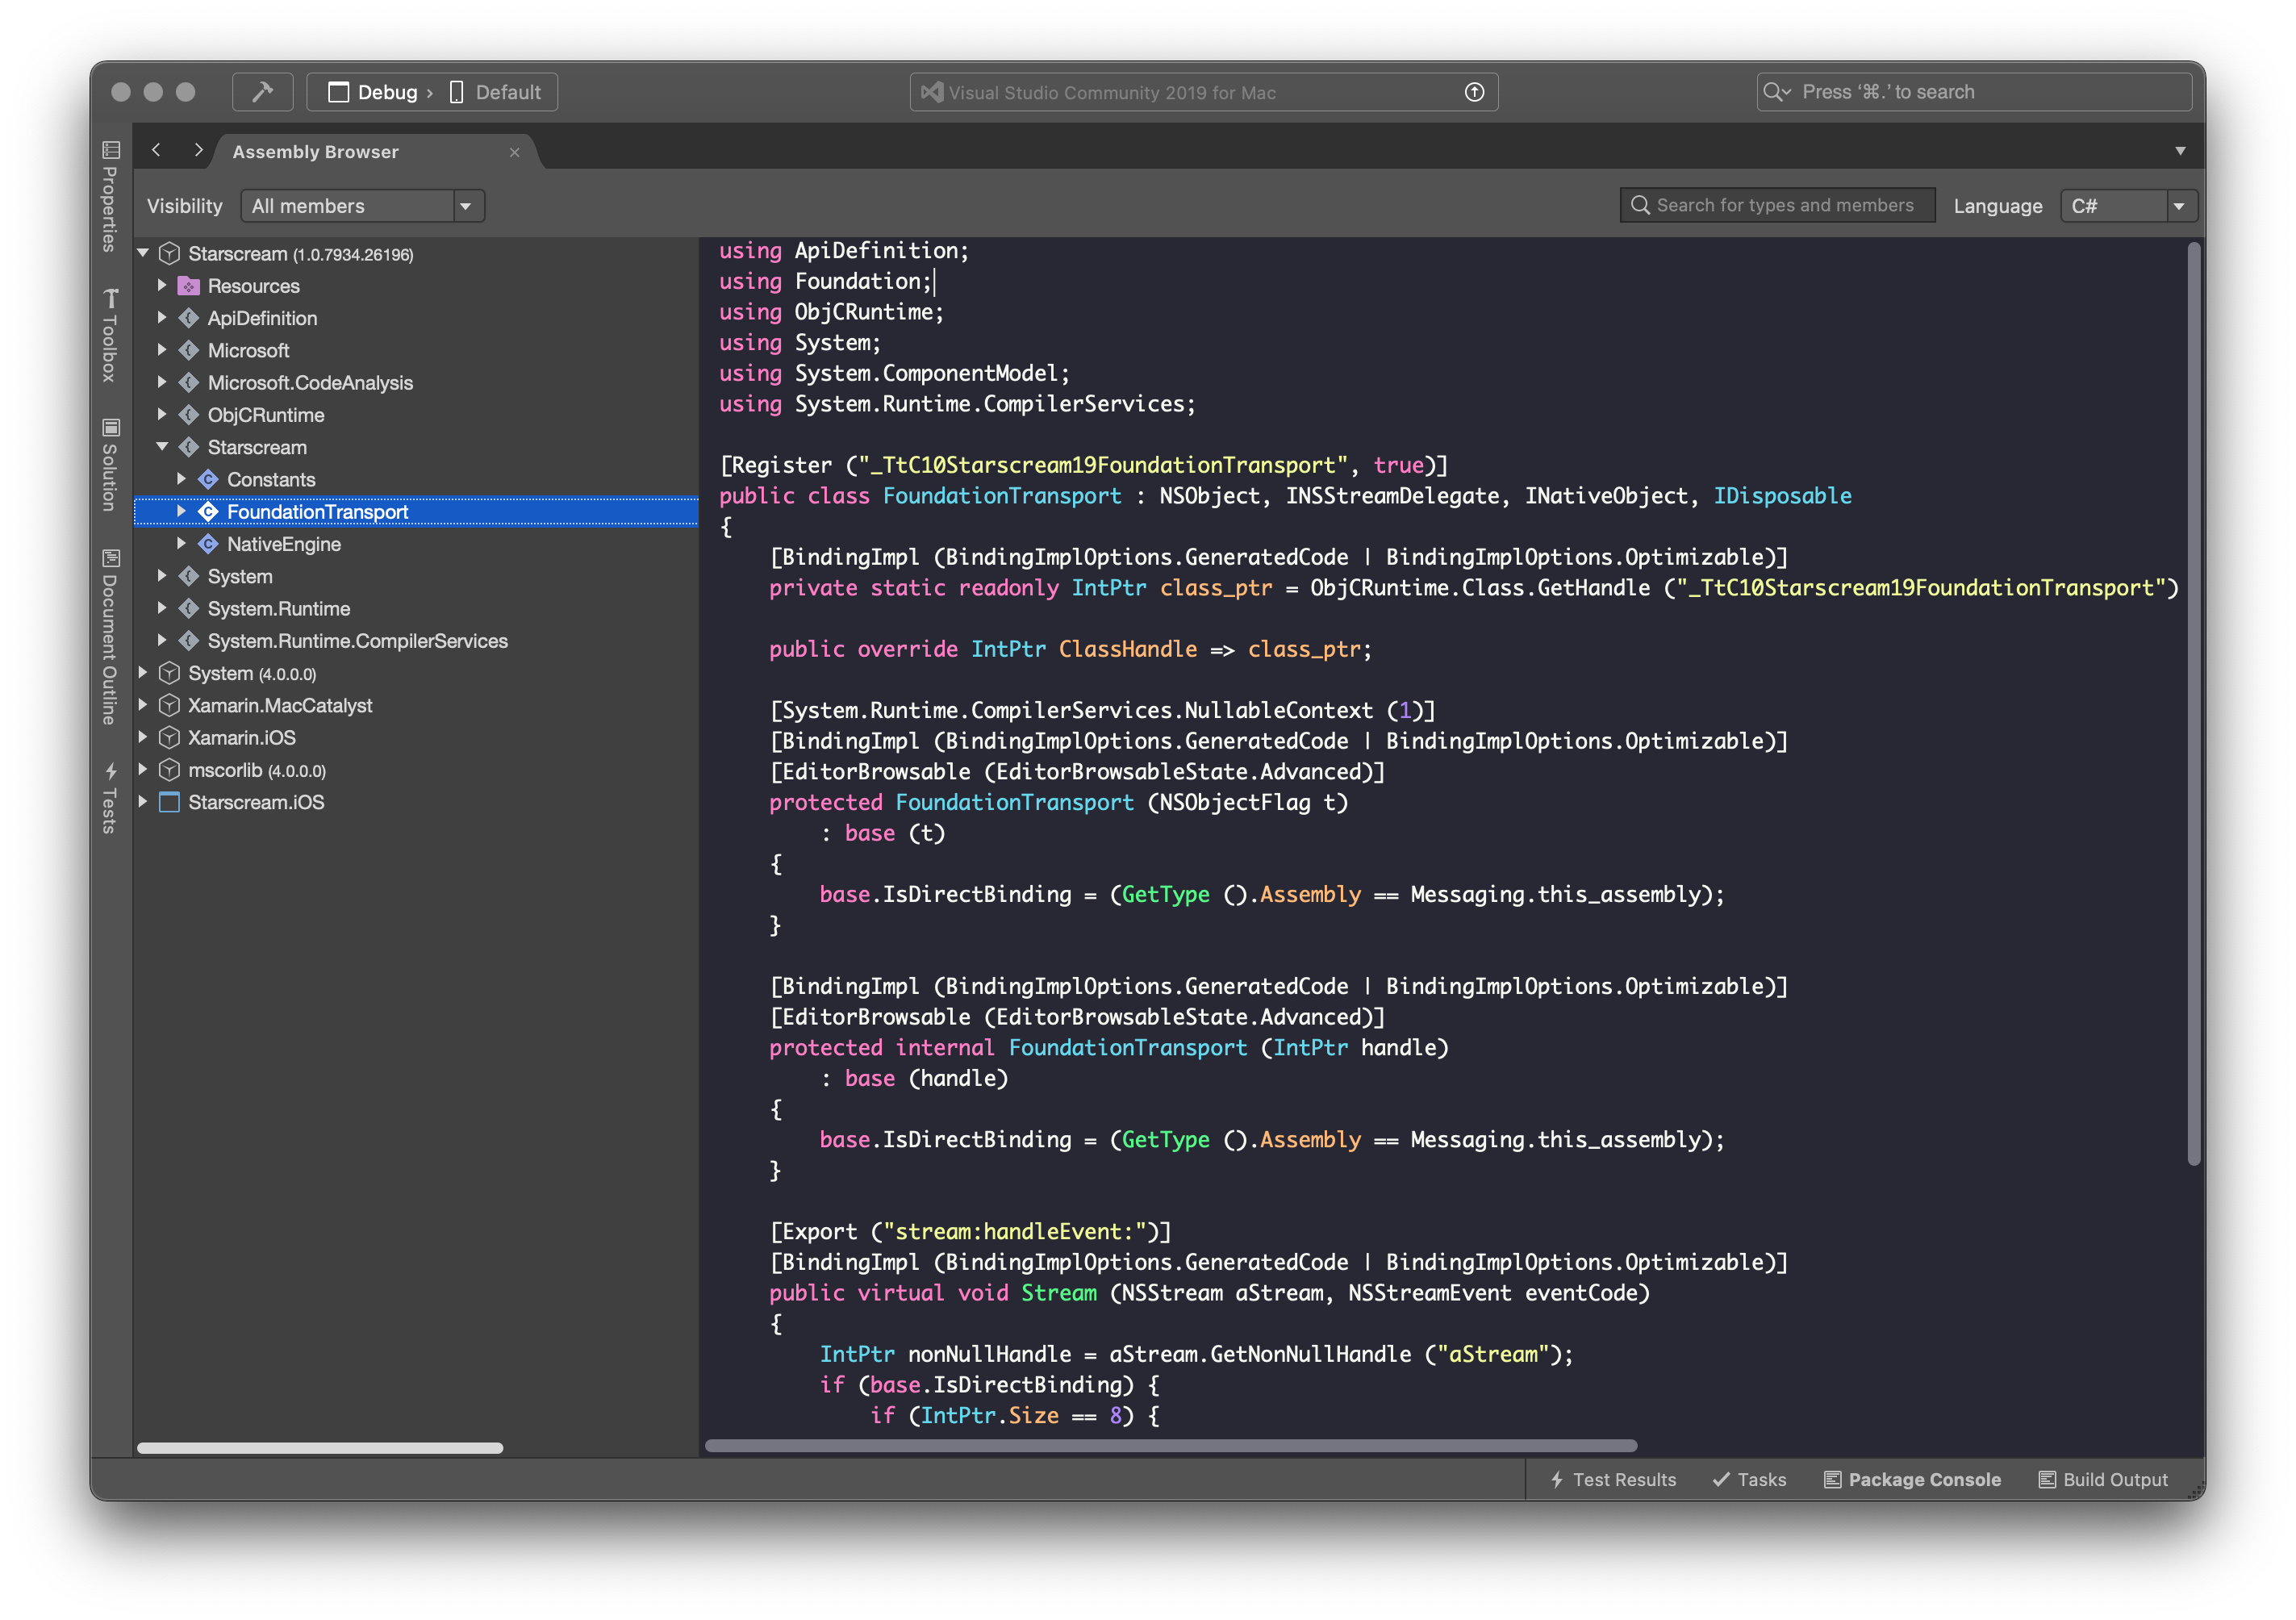
@objcannotation. Otherwise Swift compiler creates its internal class and protocol names like_TtC10Starscream16FoundationStream.
1. Prepare your Xcode Swift project
As the first step, the Swift project needs to be opened in Xcode and prepared for build.
Xamarin.iOS currently only supports bitcode for watchOS and tvOS, not iOS. Since Apple requires all libraries to support the same architectures, you need to disable Bitcode in the Xcode project. Go to your target’s Build Settings -> Set Enable Bitcode to “No”.
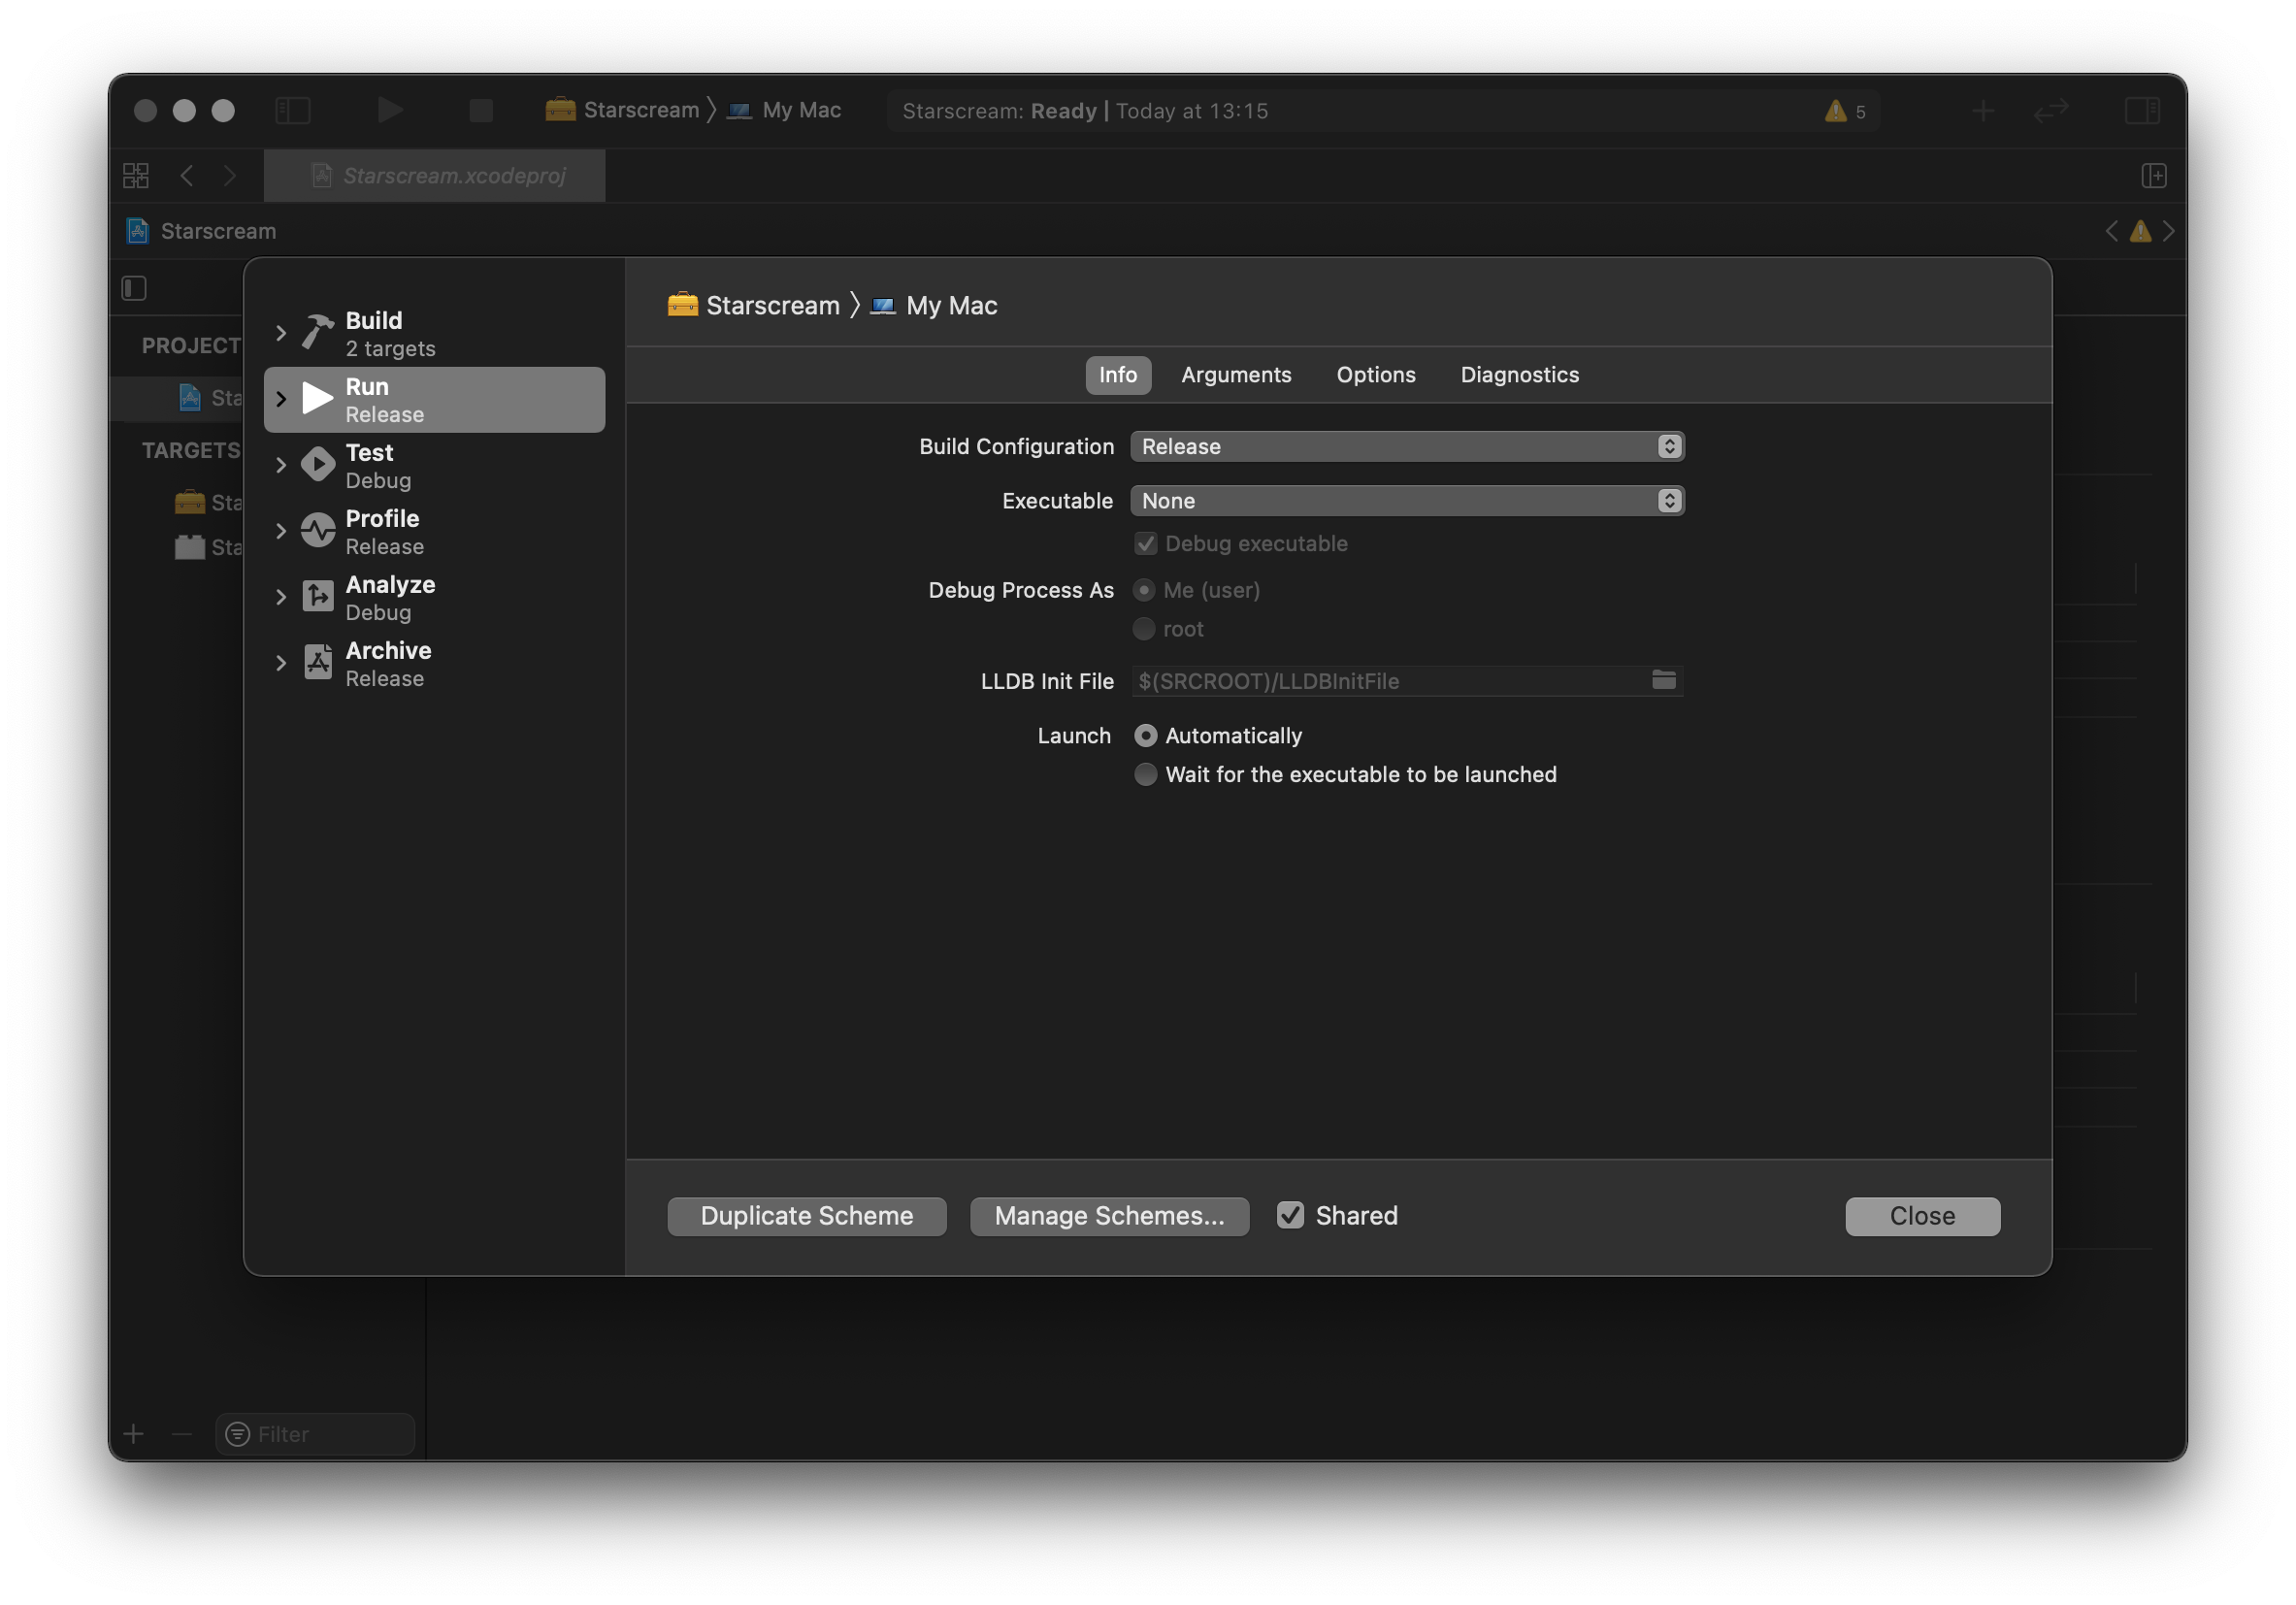
Set Build Configuration to Release:
Set the active architecture to “Generic iOS device” and select Product → Build For → Running in the Xcode menu bar. Next, set the active architecture to any simulator and build the target again.
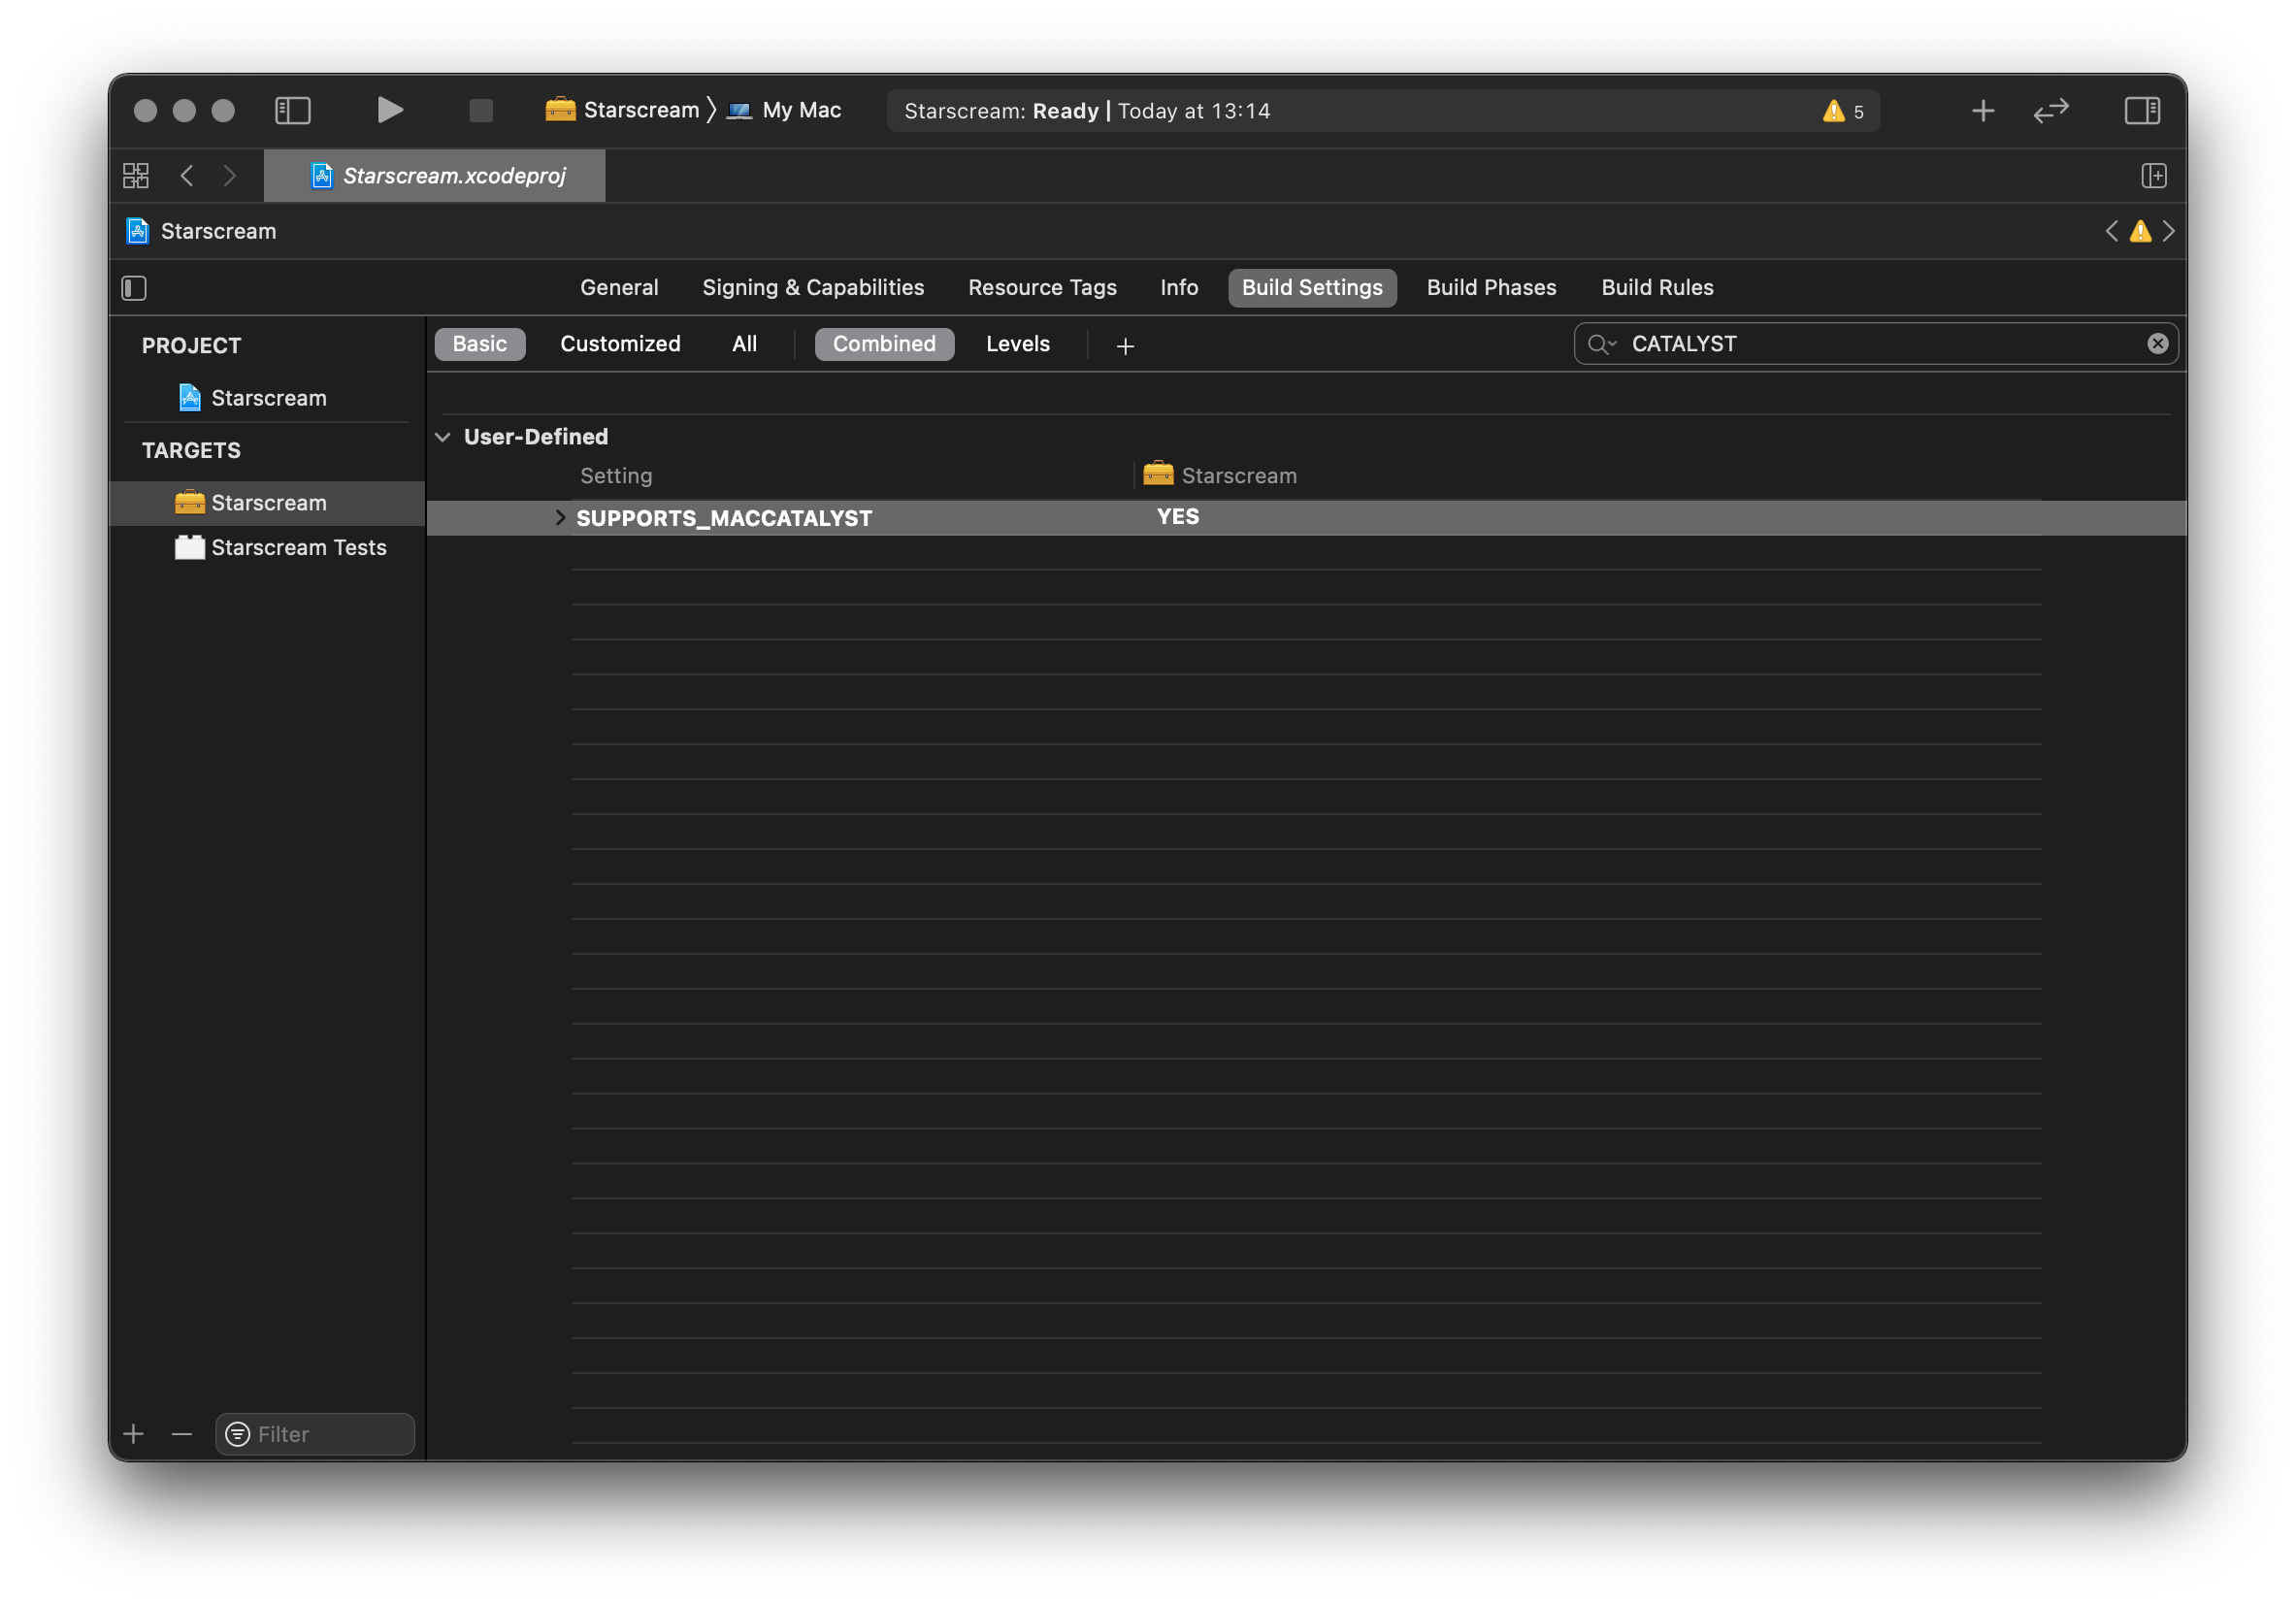
If you are on macOS Mojave 10.14 or below, you might see the following error when trying to build the Xcode project:
error: Building for Mac Catalyst requires macOS 10.15 or later. (in target 'targetA' from project 'targetB')
Go to the target Build Settings in Xcode and change Supports Mac Catalyst property to No:
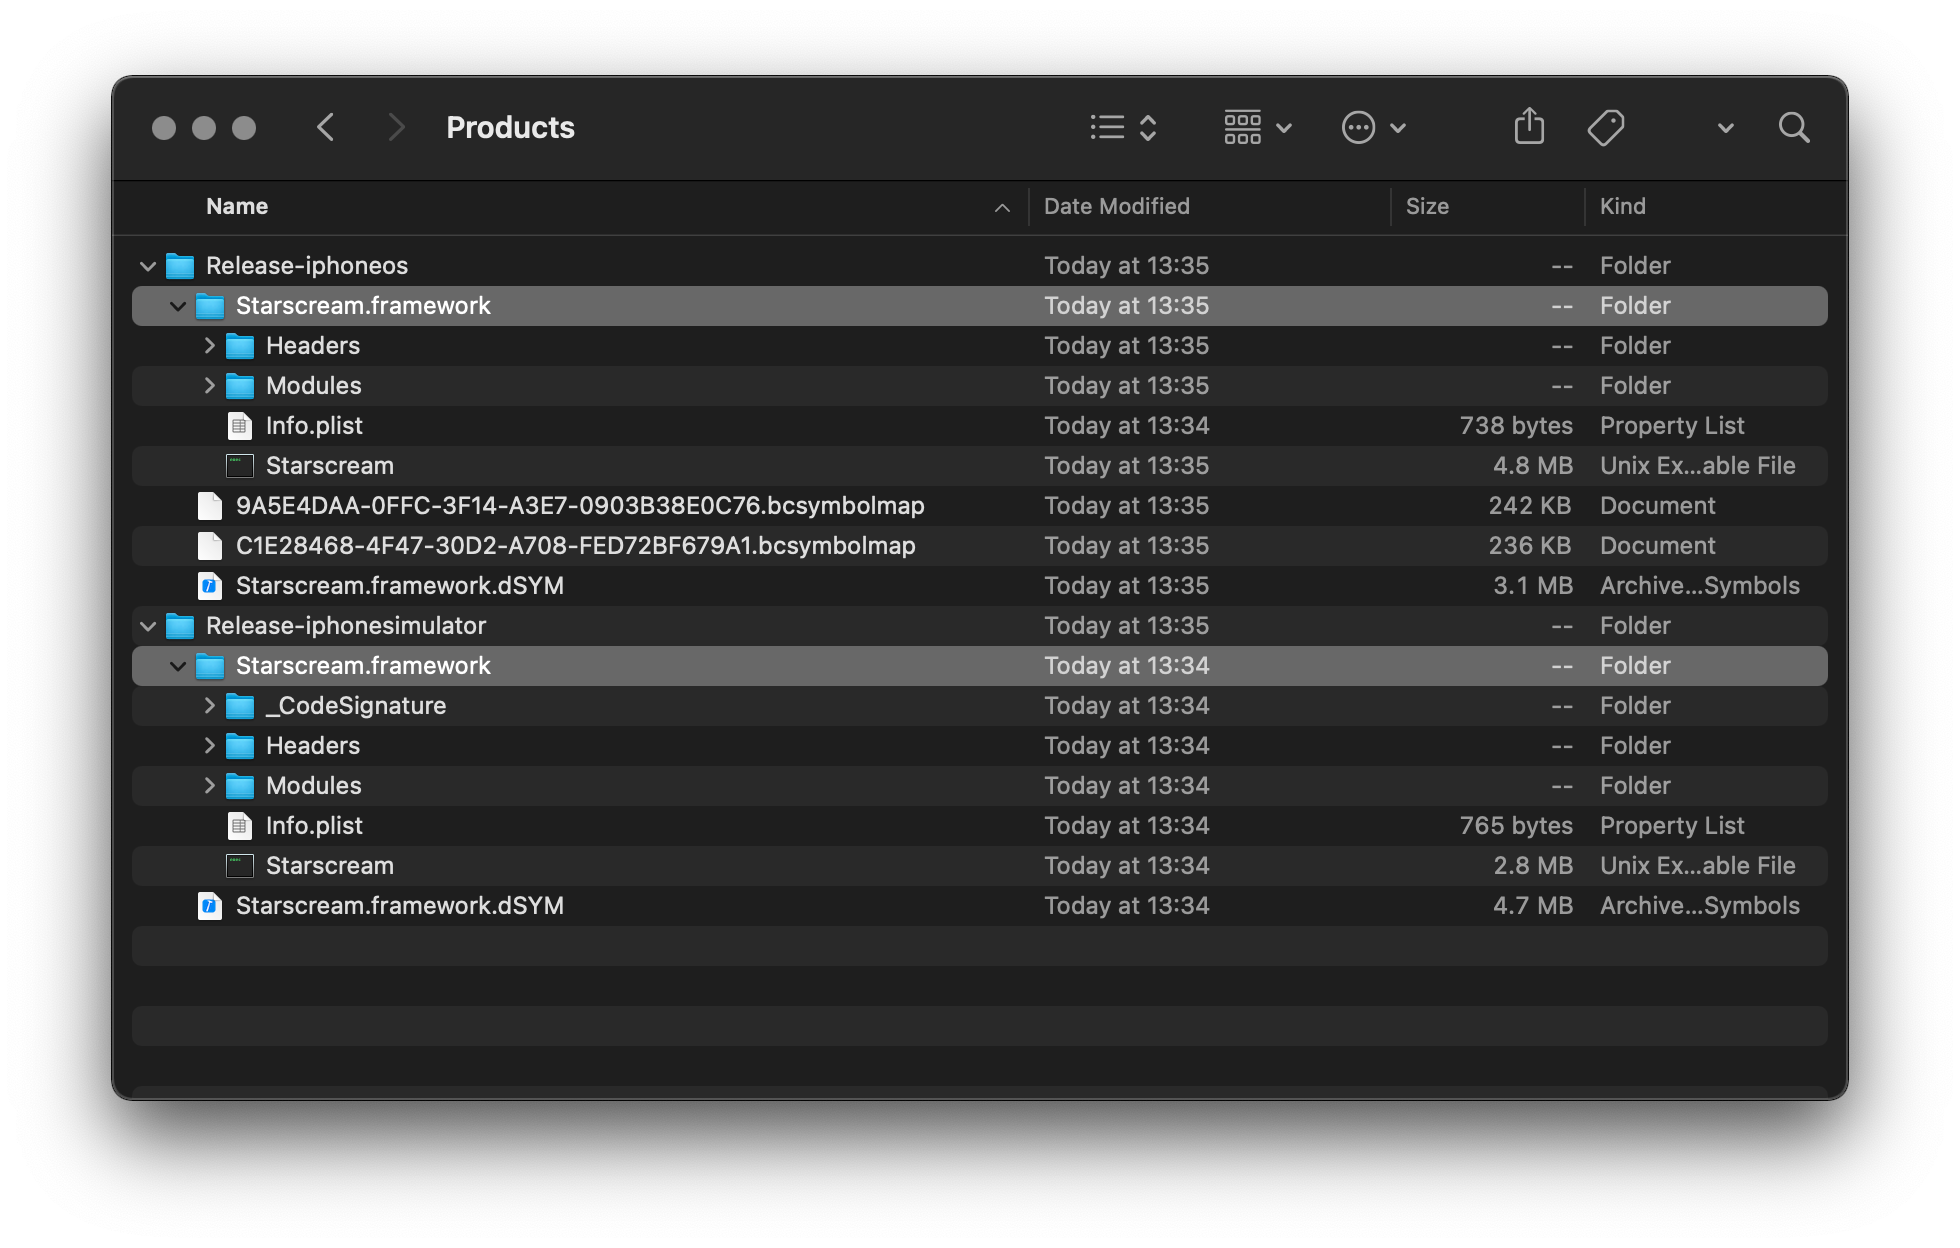
Locate Release-iphoneos and Release-iphonesimulator by choosing “Show in Finder” in the context menu of your target product. There directories are exactly what you need in the next steps.
2. Build a “fat” framework
Create a new directory named Starscream.framework next to Release-iphoneos and Release-iphonesimulator and copy all the content of Release-iphoneos into it:
$ mkdir Starscream.framework
$ cp -a Release-iphoneos/Starscream.framework/. Starscream.framework/
Create a “fat” binary that will include code for the four architectures: x86_64, i386, armv7, and arm64.
$ lipo -create \
 Release-iphonesimulator/Starscream.framework/Starscream \
 Release-iphoneos/Starscream.framework/Starscream \
 -output Starscream.framework/Starscream
Verify that the binary contains all required architectures:
$ lipo -info Starscream.framework/Starscream
Architectures in the fat file: Starscream.framework/Starscream are: i386 x86_64 armv7 arm64
As a result, you should have a binary framework ready to use in Xamarin:

Release-iphoneos and Release-iphonesimulator directories are no longer required, you can safely delete them.
3. Create C# bindings (ApiDefinitions.cs & Structs.cs)
First of all, get the latest version of Objective Sharpie. The current “stable” version is 3.4.0 which is quite obsolete and it doesn’t support Xcode 11 and iOS 13 SDK.
Once Objective Sharpie is installed, run the binding command:
$ sharpie bind \
 -namespace Starscream \
 -sdk iphoneos13.2 \
 Starscream.framework/Headers/*.h \
 -scope Starscream.framework/Headers \
 -c -F Starscream.framework/
Objective Sharpie will generate one or two files: ApiDefinitions.cs containing the actual binding code, and potentially Structs.cs, if there is an enumeration in the source code.
At this step, create a new Xamarin.iOS biding project in Visual Studio and copy ApiDefinitions.cs and Structs.cs along with Starscream.framework directory into the project. The csproj file of the binding project should look something like this:
...
  <ItemGroup>
    <ObjcBindingApiDefinition Include="ApiDefinition.cs" />
  </ItemGroup>
  <ItemGroup>
    <ObjcBindingCoreSource Include="Structs.cs" />
  </ItemGroup>
  <ItemGroup>
    <NativeReference Include="Starscream.framework">
      <Kind>Framework</Kind>
      <SmartLink>False</SmartLink>
    </NativeReference>
  </ItemGroup>
...
As the next step, you have to manually verify binding code and fix all the issues Objective Sharpie failed to solve on its own. Common errors are:
- Missing base types
- Missing namespace imports
- Types mismatch
[Verify]attributes put by Objective Sharpie to be audited manually
Follow Binding types reference and Binding troubleshooting guides by Xamarin to finish the binding code.
If needed, you can modify C# class and method names in ApiDefinitions.cs. Also, don’t forget to specify the actual library name and its version in AssemblyInfo.cs and AssemblyName property in the csproj file.
Once all errors in the binding code are fixed, build the project. At this point you should get a DLL containing a Swift library that can be used in Xamarin.iOS apps: then either create a new NuGet package or reference the binding project directly in your Xamarin.iOS app project.
4. Include Swift dependencies into your app
If the target iOS version of your app is lower than 12.2 then additional configuration is required. Xamarin.iOS still does not support Swift runtime, although some work is going on. Anyway, if you need to support older iOS versions you need to ship Swift dependencies with your app. There are two projects that can do it for you:
In my experience both of them work well and both have the same limitation: the Swift libraries are not being copied to the right place when generating the IPA using Visual Studio, causing the rejection of the App Store when uploading the IPA.
To be able to generate a valid IPA of a Xamarin.iOS app with Swift dependencies, you need to use the Xcode IPA wizard.
- In Visual Studio, select a valid iOS device before archiving.
- Go to Build menu / Archive for Publishing
- Once done, open Xcode and go to Window / Organizer
- Select the Archives tab
- On the left side of the window, select your app
- Click on Distribute App button and follow the wizard
N.B. Do not put spaces in the output path of the Xamarin.iOS project (in project name and its path, in configuration names, etc.) to avoid errors like this one.
References
- Binding Swift Libraries — Xamarin.iOS | Lucas Teixeira: medium.com
- Running ObjectSharpie agains a framework and getting errors about NSString: forums.xamarin.com
- Mac Catalyst相关报错: jianshu.com
- Objective Sharpie fails with errors originating in the SDK’s header files: stackoverflow.com
- [ObjectiveSharpie] Unsupported clang availability platform: ‘macCatalyst’ #7109: github.com/xamarin
- MT5212 not reported -> Error MT5216: Native linking failed for libSZCAAuth.dll.dylib’ instead #4889: github.com/xamarin